Install Zabbix Server on Proxmox
This guide covers how to deploy a Zabbix monitoring server as a Proxmox LXC container using the community helper scripts, and complete the initial web setup wizard.
This guide implements the concept introduced in Chapter 2 — Monitoring.
What You'll Learn
- How to deploy a Zabbix server container on Proxmox using the community helper scripts
- How to complete the Zabbix web setup wizard
- How to retrieve and use the auto-generated database credentials
- How to configure the server name and timezone during initial setup
Prerequisites
- A running Proxmox VE instance (see Install Proxmox VE)
- SSH or console access to the Proxmox host
- Internet access on the Proxmox host (the script downloads packages during installation)
Used Versions
| Software | Version |
|---|---|
| Zabbix | 7.4 |
| Proxmox VE | 9.1.2 |
Step-by-Step Implementation
1. Run the Proxmox helper script
-
Open an SSH session to your Proxmox host or use the web shell (Datacenter → your node → Shell):
-
Run the Zabbix community helper script:
-
Accept the default installation options when prompted. The script creates an LXC container with Zabbix Server, the web frontend, and a PostgreSQL database.
Default container resources
The helper script provisions the container with 2 CPU cores, 4 GB of RAM, and 6 GB of disk space. These defaults are adequate for small to medium community networks. You can adjust them later from the Proxmox web interface.
-
Wait for the script to finish. It will display the container's IP address at the end.
2. Open the Zabbix web setup
-
On a computer connected to the same network, open a browser and navigate to:
Replace
<zabbix-ip>with the IP address shown at the end of the installation script. -
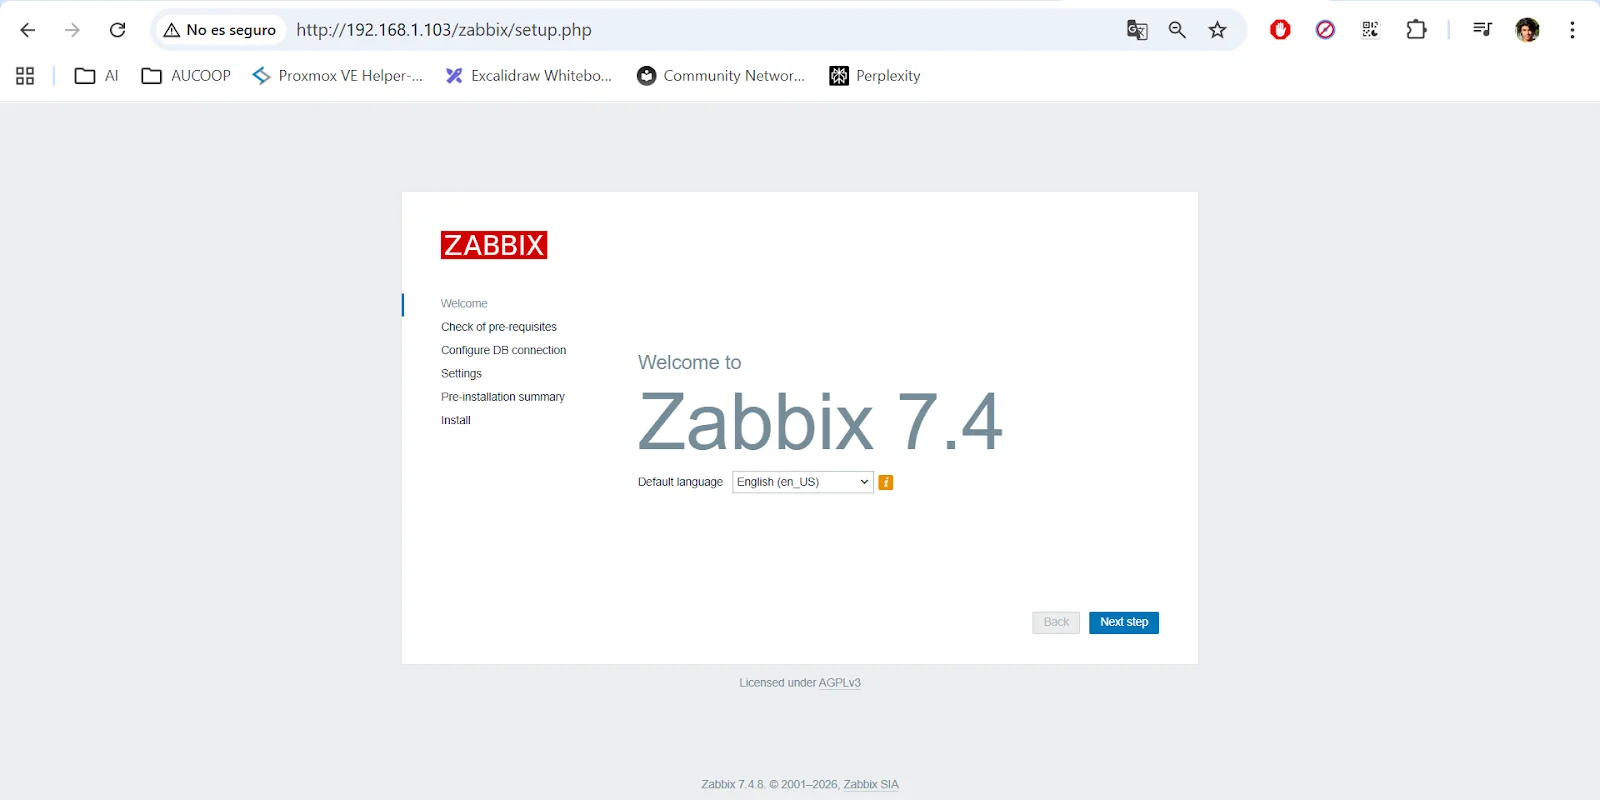
The Zabbix welcome page appears, confirming the web frontend is running.
-
Click Next step to proceed.
3. Configure the database connection
-
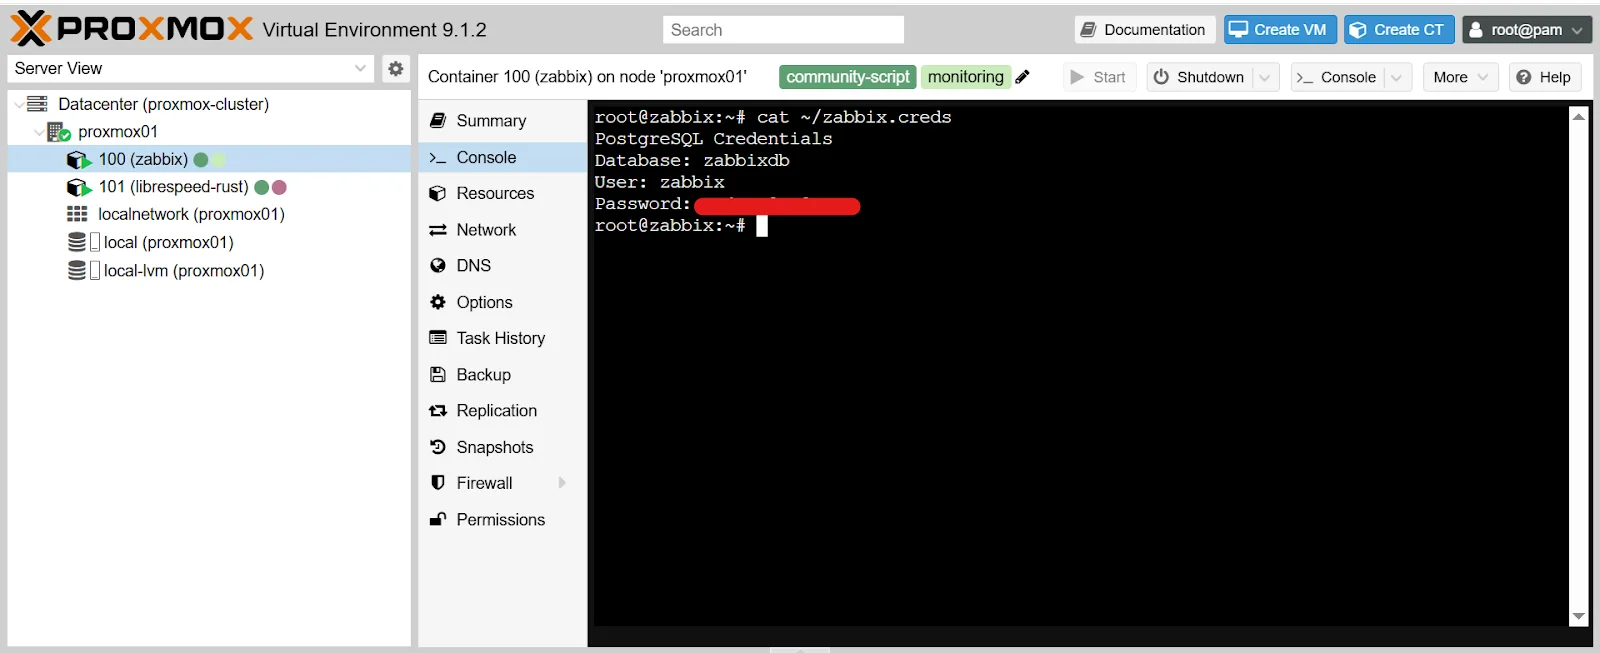
Go to the Proxmox web interface and open the console of the Zabbix container (Datacenter → your node → the Zabbix CT → Console).
-
Retrieve the auto-generated database credentials:
-
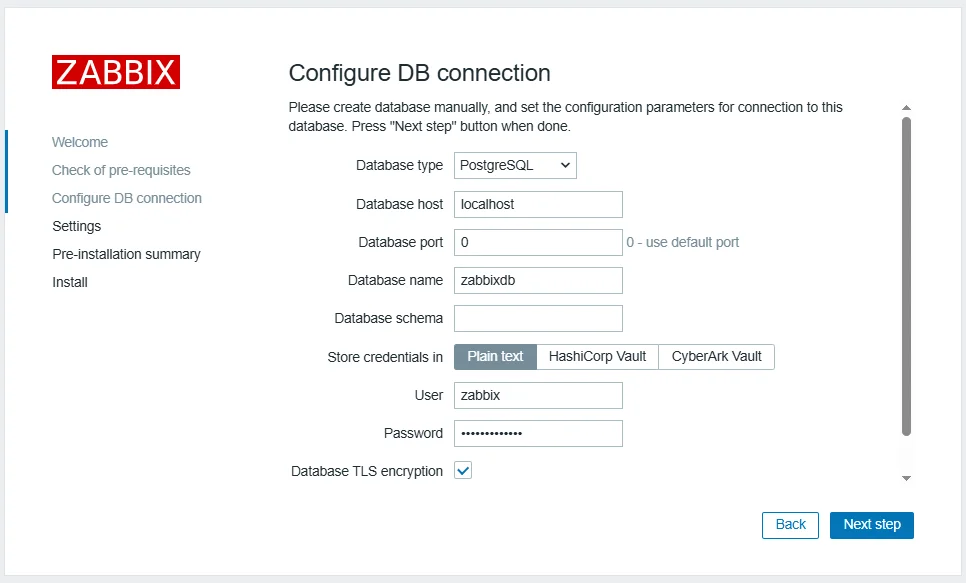
Back in the browser, on the Configure DB connection page, fill in the fields using the credentials from the previous sub-step:
- Database host: the value shown in the credentials file (typically
localhost) - Database port:
0(means use the default port) - Database name: the database name from the credentials file
- User: the database user from the credentials file
- Password: the database password from the credentials file
- Database host: the value shown in the credentials file (typically
-
Click Next step to continue.
4. Complete the setup wizard
-
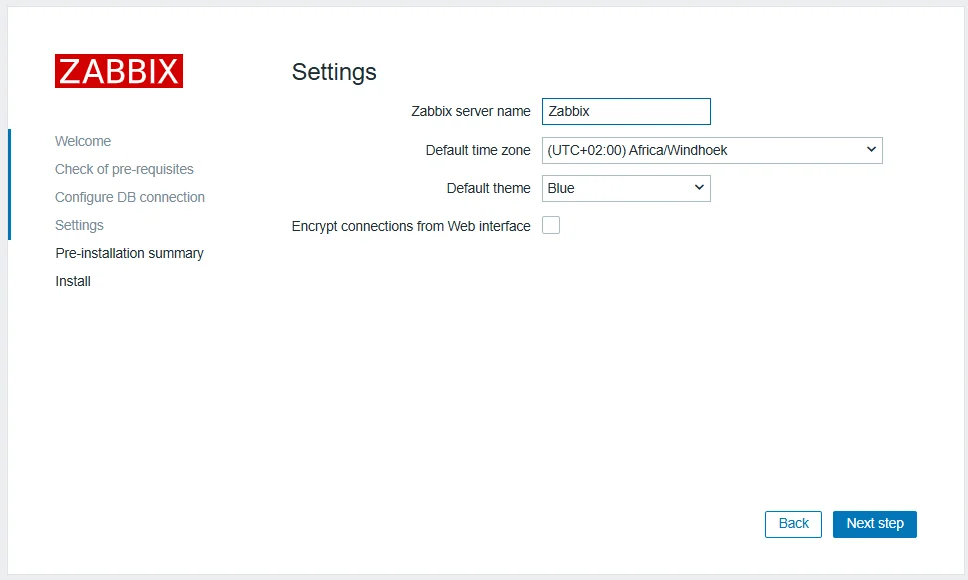
On the Settings page, configure:
- Zabbix server name: enter a descriptive name for your server (e.g.,
Community Network Zabbix) - Default time zone: select your local timezone
- Zabbix server name: enter a descriptive name for your server (e.g.,
-
Click Next step to review the configuration summary.
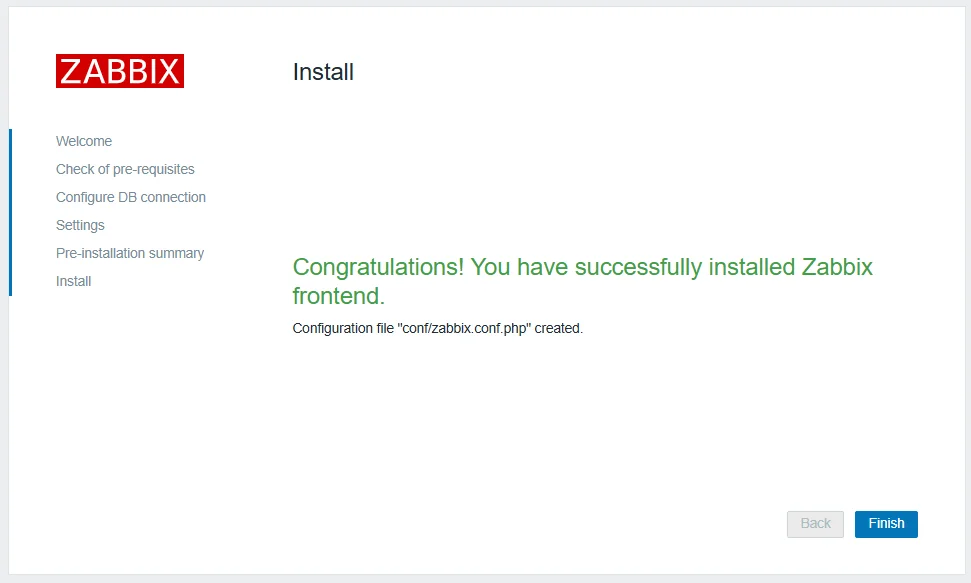
- Verify all settings are correct and click Finish.
Default login credentials
After completing the setup wizard, log in to Zabbix with the default credentials: username Admin (capital A) and password zabbix. Change the default password immediately under Users Settings → Profile → Change password.
References
- Proxmox VE Helper Scripts — Zabbix — https://community-scripts.github.io/ProxmoxVE/scripts?id=zabbix
- YouTube: "Use Proxmox to monitor network devices with Zabbix" — https://www.youtube.com/watch?v=lFtqJx5vpgc
Revision History
| Date | Version | Changes | Author | Contributors |
|---|---|---|---|---|
| 2026-04-02 | 1.0 | Initial guide creation | Jaime Motje |